You can make pouch with aluminum foil by folding the edges and pressing them to seal. This pouch keeps food fresh and works for cooking or storage. Many people use a pouch to protect food from moisture or light. Try adding features like a gusset for extra space in your make pouch project.
Make Pouch: Materials and Preparation
What You Need
Before you start your make pouch project, gather everything you need. You want your pouch to be strong and reliable, so choose the right materials. Here’s a quick list to help you get ready:
Heavy-duty aluminum foil sheets (extra heavy-duty works best for durability)
Cutting board and knife for shaping your piece of foil
Metal tongs or fire-resistant gloves for handling hot packets
Heat-safe plate or board for placing hot pouches after cooking
Sealable plastic bags or containers for extra storage
Utensils for eating, like a fork
If you want to try making a foil bag with special features, look for multi-layered foil options. These combine aluminum foil with plastics like PET or PE, giving your pouch extra strength and better protection against moisture, air, and light. Some pouches even come with zippers or valves for resealability and freshness.
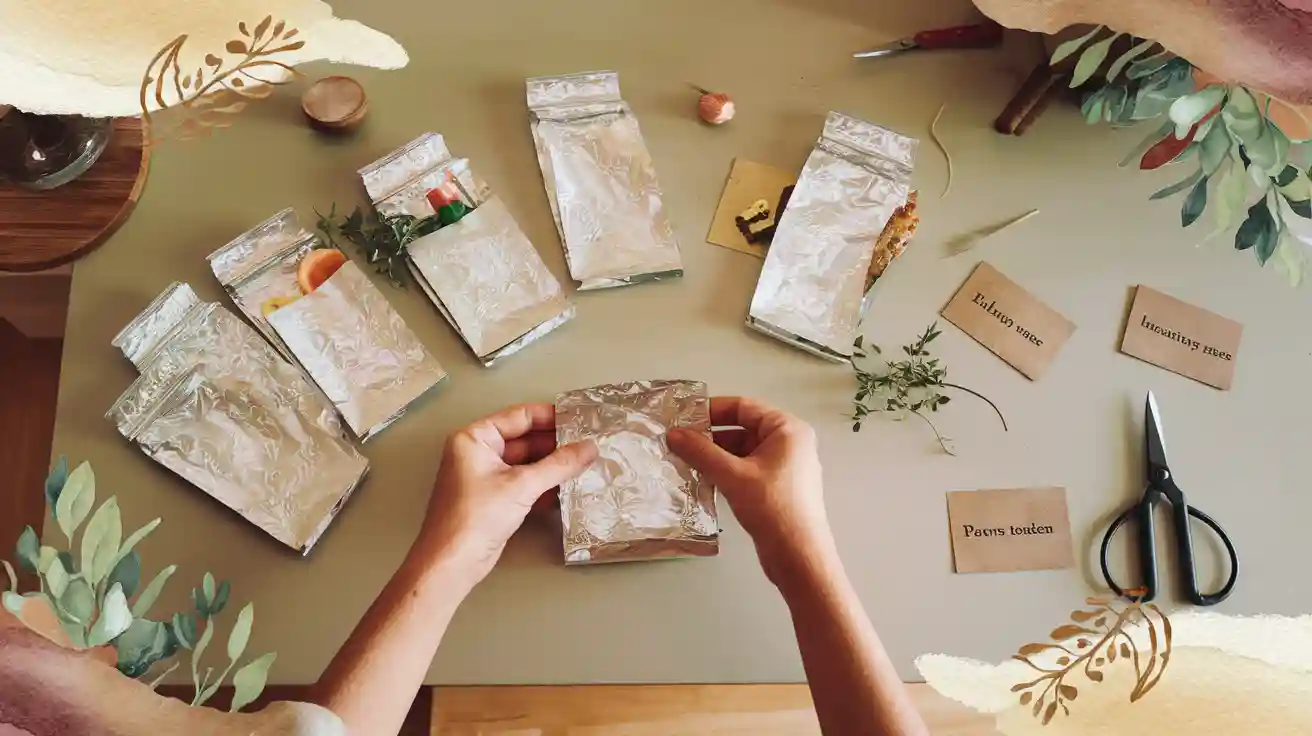
Tip: Stand-up pouches with zippers are great for coffee, tea, or snacks. Gusseted bags offer more space and keep your food fresh longer.
Preparing the Foil
Start with a clean, flat workspace. Wipe down your surface to remove dust, oil, or moisture. This step helps you get a tight seal and prevents leaks. Always check your piece of foil for any dirt or grease before you begin folding. If you use sealing equipment, make sure it’s clean and working well. Humidity and temperature can affect how your pouch seals, so keep your environment dry and stable.
Choose the right thickness for your make pouch. Most durable pouches use foil that’s 50 to 100 microns thick. Multi-layered foil gives you better protection and resists tears. Single-layer foil works for simple tasks, but it’s not as strong. If you want your pouch to last, go for multi-layered options.
Make a Foil Pouch: Step-by-Step Guide
Folding and Shaping
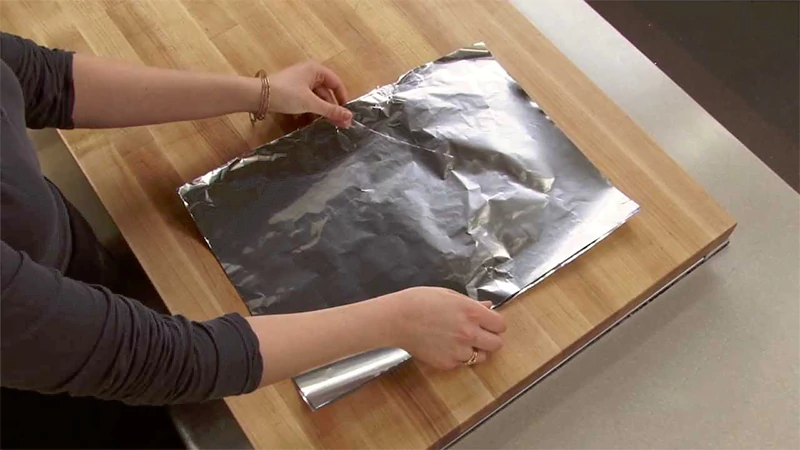
Ready to make a foil pouch? Start by grabbing a sheet of heavy-duty aluminum foil. You want a piece that’s big enough to hold your ingredients and leave extra space for folding. If you use standard foil, double up for extra strength. Here’s how you can shape your pouch:
Lay out a flat sheet of foil, about 18×12 inches works well for most uses.
Place your food or items right in the center. If you’re cooking, add a little oil or seasoning now.
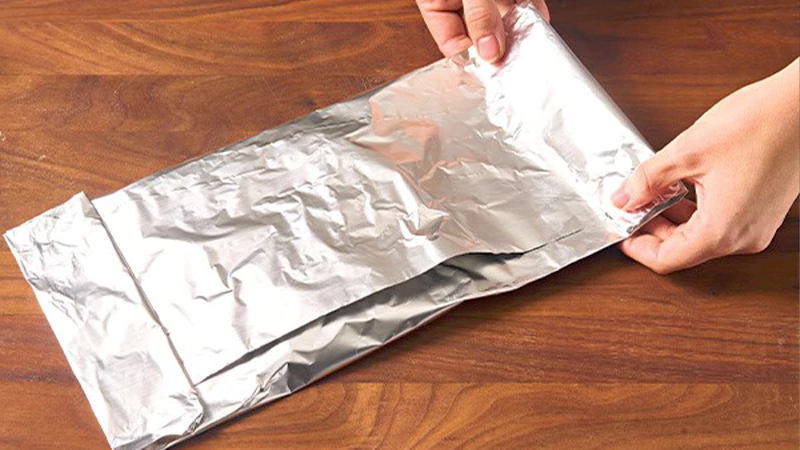
Bring the two long edges together above the center. Pinch and crease the edges tightly to start forming the pouch.
Fold the edges down, making a 1/2 inch lip. This helps trap heat and keeps everything inside.
Fold the lip over again for a good seal. Leave the short edges open for now.
Press the short edges together, then fold them over once to create another lip. Make sure you leave about 1.5 to 2 inches between the food and the edge.
Fold the lip over again so it lays flat. Now your pouch is sealed on all sides.
Tip: Use double layers of foil if you want extra leak resistance or plan to cook over open flames. This makes your pouch stronger and less likely to tear.
If you want to make a foil pouch for wet or saucy foods, pull up each side of the foil before folding. This keeps liquids from leaking out. Always check that your folds are tight and the edges are pressed firmly.
Sealing the Edges
Getting a good seal is key to keeping your pouch airtight and leak-proof. You have a few options for sealing the edges:
Use a constant heat sealer, impulse sealer, or vacuum sealer for a professional finish.
If you don’t have special equipment, a clothes iron or hair straightener works well. Just press along the edges for a few seconds to melt and bond the foil.
For homemade pouches, pinch and crease the edges several times. Press firmly to make sure the seal holds.
Heat sealing is the most effective way to create a strong, moisture-proof seal. It works by applying heat and pressure to the foil, locking in freshness and protecting your food or items. If you want a proper foil pouch for storage or travel, take your time with the sealing step.
Note: Always avoid using foil with acidic foods like tomatoes or citrus. Acid can cause corrosion and affect taste. Never use foil in the microwave, and don’t let it touch open flames for too long.
Adding Gusset or Zip Lock
Want to upgrade your pouch? Try adding a gusset or zip lock. Gusseted pouches expand at the sides or bottom, giving you more space and letting the pouch stand upright. This design is perfect for snacks, coffee, or anything you want to display on a shelf.
Gusset pouches save space and hold more without taking up extra room.
They offer excellent barrier protection against moisture, oxygen, and light.
The pouch stands up on its own, making it easy to store and show off your products.
You get more surface area for labeling or branding.
To add a gusset, fold the sides or bottom of your pouch inward before sealing. Press the folds flat, then seal as usual. You’ll notice the pouch can expand and stand up when filled.
If you want a resealable pouch, you can add a zip lock strip. Before sealing the final edge, insert the zip lock strip into the opening. Use glue, heat sealing, or stitching to attach it securely. This lets you open and close the pouch multiple times, which is great for food storage.
Tip: Multi-layer foil pouches with gussets or zip locks are perfect for keeping food fresh and safe. They also look modern and professional.
Double layering your foil adds strength and leak resistance. Multi-layer composite pouches combine aluminum foil with other materials, making them tough and durable. These pouches resist breaking, keep out moisture and air, and protect your items from light and contaminants. If you want your pouch to last, double up on the foil and seal carefully.
Foil Packet and Bag Uses
Cooking with Foil Packets
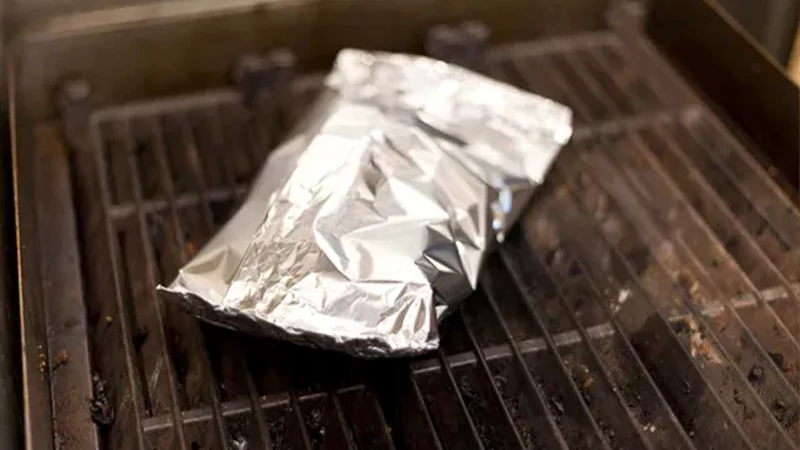
You can make dinner easy and delicious with a foil packet. Just add chicken, steak, shrimp, or sausage with your favorite veggies and a splash of sauce. Wrap everything up and toss it on the grill, in the oven, or even over a campfire. The foil packet locks in moisture and helps infuse flavour into your meal. Try recipes like teriyaki chicken with vegetables or shrimp and asparagus for a complete meal with almost no cleanup. Heavy-duty foil works best, especially when you grill over high heat.
Tip: Always avoid acidic foods like tomatoes or citrus when using foil packets for cooking. This keeps your food safe and tasting great.
Food Storage and Protection
A pouch made from aluminum foil keeps food fresh by blocking air, moisture, and light. You can store leftovers, snacks, or even sensitive items like coffee beans. Compared to plastic bags, foil pouches offer better moisture and odor resistance, plus they help prevent oxidation. For best results, let food cool before wrapping and use foil for short-term storage. Always refrigerate your pouch and avoid wrapping acidic or salty foods directly.
Feature | Aluminum Foil Bags | Plastic Bags |
|---|---|---|
Moisture Resistance | Excellent | Weaker |
Oxygen Barrier | Strong | Weaker |
Odor Resistance | Excellent | Weaker |
Strength & Durability | High | Lower |
Making a Foil Bag for Other Uses
You can get creative when making a foil bag. Use it to protect electronics from moisture, store small tools, or even keep matches dry on a camping trip. The pouch acts as a barrier against light and water, making it perfect for sensitive items. Some people use foil bags in the garden to reflect light or in crafts for unique projects. The possibilities go far beyond food storage.
Printing on Foil Pouch
Want to organize or brand your pouches? You can print labels or designs right on the foil. Try thermal transfer printers for clear text, or use digital printing for colorful graphics. You can add your logo, instructions, or even fun designs. Custom-printed pouches help you stay organized and make your products stand out on the shelf.
Making aluminum foil pouches is quick and easy. You can use them for cooking, storage, or even crafts. Try making your own and see how useful they are.
Customizing your pouch lets you fit your needs perfectly.
Experiment with shapes
Add features for extra convenience
Enjoy fresh food every time
FAQ
Can I reuse an aluminum foil pouch?
You can reuse a foil pouch if it’s clean and undamaged. Just wash it gently and let it dry before using it again.
What foods work best in foil packets?
Vegetables
Fish
Chicken
Sausage
You get great results with foods that cook quickly and release moisture.
How do I prevent leaks in my foil pouch?
Double up your foil layers and press the edges tightly. Avoid overfilling the pouch. Check for small tears before sealing.