Understanding the structural differences between 2-side seal pouches and 3-side seal pouches is key to choosing the right flat pouch packaging.
| Feature | 2-Side Seal Pouch | 3-Side Seal Pouch |
|---|---|---|
| Sealing Sides | Back vertical seal + sealed top and bottom edges | Left and right seals + sealed bottom edge |
| Construction Layout | Single flat sheet folded with a center back seal | Flat single sheet sealed on three sides |
| Fold Style | Folded pouch with a clear back seam | Open on one side (top or open-side) for filling |
| Appearance | Lay-flat, symmetrical front and back panels | Slight block-bottom look when filled, gusset side edges visible |
How This Looks In Practice
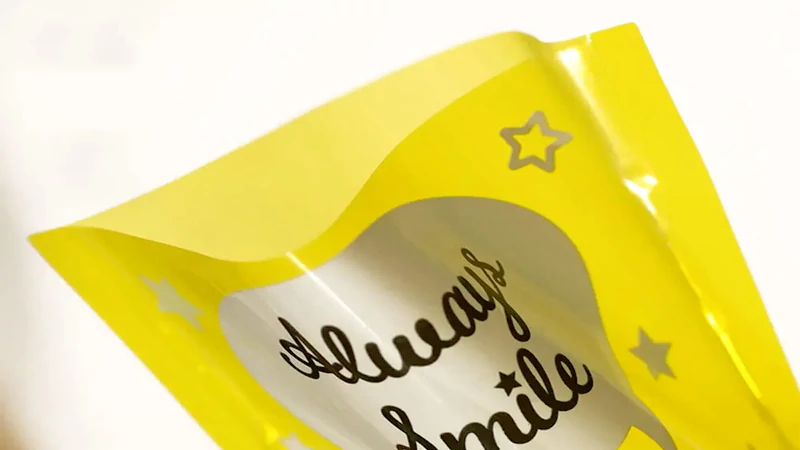
2-Side Seal Pouch
- The back seam runs vertically down the middle.
- Top and bottom edges are sealed flat.
- When empty, it lies completely flat—ideal for coffee packaging pouches and products needing a clean, symmetrical look.
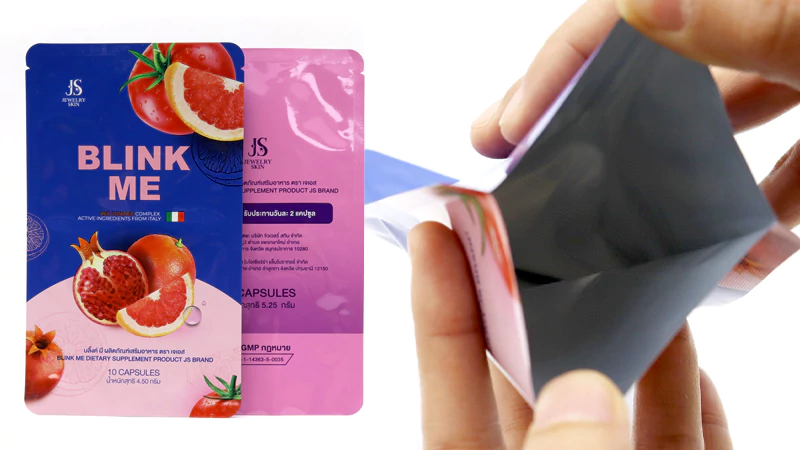
3-Side Seal Pouch
- Seals on the left, right, and bottom edges.
- The open side (top or side) is used for filling the product.
- When filled, it takes a slight block-bottom shape, giving more volume space but less flat surface area on front/back.
Printing Surface & Branding Impact
When it comes to 2-side seal pouches, the big advantage is the large, continuous front and back panels. This gives you plenty of space for bold, eye-catching designs that really pop on store shelves. The flat, uninterrupted surface makes your branding clean and easy to showcase, perfect for strong logos, vibrant colours, and detailed graphics.
On the other hand, 3-side seal pouches have smaller front and back panels, surrounded by wide side gussets. These gussets can interrupt or “break” your artwork, making it trickier to create a seamless design. While they can still look good, especially with careful layout, they don’t usually offer the same premium, polished look as 2-side seals.
Which one wins for shelf appeal? If your goal is maximum brand impact and a premium feel, 2-side seal pouches usually have the edge. Their larger flat surfaces mean your packaging looks sleek and professional, ideal for grabbing consumer attention.
Filling & Production Process: Top-Fill vs. Open-Side Fill

When it comes to filling 2-side seal pouches and 3-side seal pouches, the process varies quite a bit, which affects speed and automation.
2-Side Seal Pouches
These pouches are usually filled from the top. The pouch stays flat, making it easy to feed into inline filling machines that can fill, seal, and cut in one continuous run. This setup works well for products like coffee beans, nuts, or powders that benefit from quick, automated handling. The top-fill design supports features like degassing valves and zippers since the pouch opens at the top.
3-Side Seal Pouches
For 3-side seal pouches, filling typically happens through the open side (usually the top or the unsealed edge). Because the pouch is sealed on three sides and opened on one, filling is often offline or semi-automated, especially for smaller or single-serve items like spice sachets or samples. This method is slower and less suited for high-speed production compared to 2-side seal pouches but provides tight, self-contained packaging ideal for single portions.
Inline vs. Offline Production
Inline Production
Mostly used for 2-side seal pouches. Filling, sealing, and finishing happen on one machine line, boosting speed and reducing labor costs. Great for medium-to-large production runs.
Offline Production
More common for 3-side seal pouches. Pouches are pre-made, then filled and sealed separately. This allows flexibility for smaller batches or complex filling needs, but it slows down production and adds manual handling.
Speed & Automation Compatibility
- 2-side seal pouches generally match well with high-speed automated lines, making them perfect when volume and efficiency matter.
- 3-side seal pouches suit smaller volumes, specialty products, or markets needing precise portion control over speed.
In , choosing between 2-side seal and 3-side seal pouches depends on your filling setup, production scale, and product type—each has its own advantages in the production process.
Common Applications & Product Fit
When choosing between a 2-side seal pouch and a 3-side seal pouch, it really depends on what you’re packing.
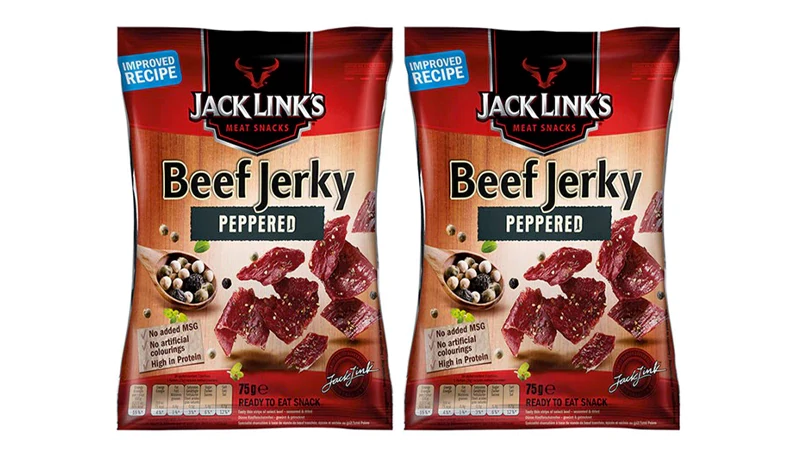
2-Side Seal Pouches are popular for products that need more space and a sturdier structure. Think coffee beans, nuts, jerky, powders, pet treats, and granola. These pouches offer enough room to hold larger quantities and often have a nice lay-flat base, making them easy to display. Brands like Blue Bottle Coffee and Nature’s Path use 2-side seal pouches to show off their bold designs and keep their products fresh.
On the other hand, 3-Side Seal Pouches work best for smaller, single-serve items where portion control is key. This includes sachets for spices, sauces, cosmetics like face masks or creams, sample packs, and even medical devices such as test strips or wipes. Because of their smaller size and sealed edges on three sides, they’re great for protecting the product and are easy to tear open. A good example is McCormick’s spice sachets or travel-size skincare samples from brands like Dr. Jart+.
So, if you want more volume with a strong shelf presence, go for 2-side seal pouches. If convenience and single-use packaging are your goals, 3-side seal pouches fit the bill perfectly.
Cost Comparison (2026 Pricing Factors)
When comparing 2-side seal pouches vs. 3-side seal pouches, cost is a major factor, especially in 2026’s evolving market. Here’s a clear breakdown:
| Cost Factor | 2-Side Seal Pouch | 3-Side Seal Pouch |
|---|---|---|
| Material Usage | Uses about 8–15% less film due to simpler sealing layout, lowering material cost | Requires more film for seals on three sides, increasing material use |
| Minimum Order Quantity (MOQ) | Often higher MOQs due to specialized cutting and sealing tools | Lower MOQs available, making it budget-friendly for small runs |
| Tooling & Plate Costs | Tooling can be pricier upfront due to complex sealing lines (back seal + one other side) | Simpler tooling, generally cheaper setup costs |
| Low Volume Cost | Higher unit cost because tooling expenses spread over fewer units | More affordable for small batches, less initial setup cost |
| High Volume Cost | More cost-effective at scale owing to lower material waste and faster production times | Slightly more expensive per unit but stable costs regardless of volume |
Key Takeaway
- 2-side seal pouches are usually cheaper for large orders because of material savings and production efficiency.
- 3-side seal pouches shine in small batch runs thanks to lower tooling and MOQ requirements.
Consider your order size and budget carefully when choosing the best pouch type for your packaging needs.
Barrier Properties & Shelf Life of 2-Side Seal vs. 3-Side Seal Pouches
When it comes to barrier properties and shelf life, sealing integrity is key. Both 2-side seal and 3-side seal pouches offer strong seals, but there are some differences to consider:
- 2-side seal pouches typically have a robust back seal running the length of the pouch, combined with sealed top and bottom edges. This construction creates a reliable barrier against moisture, oxygen, and contaminants, helping to preserve freshness.
- 3-side seal pouches seal on three edges—usually left, right, and bottom—with the top remaining open for filling. While their seals are strong, the open top might require extra care during filling and sealing to avoid leaks.
Both pouch types support added features to boost shelf life and user convenience, such as:
- Degassing valves for products like coffee that release gases but need to stay fresh
- Tear notches for easy opening without damaging the seal
- Zippers or resealable closures that maintain freshness even after opening
Choosing the right pouch depends on your product’s sensitivity and how long it needs to stay fresh. For long shelf life, robust seal quality and barrier films matter more than just the sealing style. However, for products with natural degassing (like coffee beans), 2-side seal pouches with valve options are often a better fit.
In :
- Both pouches can offer excellent sealing integrity when properly manufactured.
- 2-side seal pouches may have a slight edge for barrier performance and compatibility with accessories like degassing valves.
- Use tear notches and zippers on either pouch to improve user experience without compromising shelf life.
This way, you can keep your product fresh and your customers happy.
Pros & Cons Table: 2-Side Seal vs 3-Side Seal Pouches
| Feature | 2-Side Seal Pouches | 3-Side Seal Pouches |
|---|---|---|
| Structure | Back seal plus top & bottom seals; lays flat | Sealed on three sides (left, right, bottom); more blocky shape |
| Printing Area | Large, continuous front & back panels ideal for bold branding | Smaller front/back panels; side gussets interrupt artwork |
| Cost | Usually 8–15% less film; cheaper at higher volumes | Slightly higher material use; better for small runs |
| Best For | Coffee beans, nuts, jerky, powders, granola, pet treats | Single-serve sachets, spices, sauces, cosmetics, samples |
| Drawbacks | Less flexible packaging shape; limited gusset options | Prints less cleanly over seams; more material needed |
| Filling Ease | Top or bottom fill; fits automated lines well | Open side fill; often filled offline or manually |
| Shelf Appeal | Clean, premium lay-flat look | Compact, handy for samples and single uses |
| Barrier & Features | Easy to add degassing valves, tear notches, zippers | Supports same features but with tighter space |
This quick comparison shows 2-side seal pouches shine for strong shelf presence and cost-efficiency in larger runs. Meanwhile, 3-side seal pouches work best for small, single-use packs with easier handling for certain products. Your choice depends heavily on product type, branding needs, and budget.
Which One Should You Choose? Decision Checklist
Picking between a 2-side seal pouch and a 3-side seal pouch depends mostly on your product and business needs. Here’s a quick guide to help you decide:
| Factor | Choose 2-Side Seal Pouch | Choose 3-Side Seal Pouch |
|---|---|---|
| Product Weight & Volume | Heavier or bulkier items (coffee beans, nuts) | Small, single-serve products (spices, samples) |
| Shelf Presence | Larger flat panels for bold branding | Smaller front area, less impact on shelf |
| Budget & Order Qty | Better for large runs, lower cost per unit | Ideal for small runs or samples, higher cost per piece |
| Branding Goals | Clear, uninterrupted printing space | Limited, due to side seals and gussets |
| Filling Equipment | Works with top fill or automated lines | Often filled offline or with manual packers |
Quick Tips:
- If you want strong shelf appeal and your product is medium to large size, go with 2-side seal.
- For small quantities, single-serve packs, or products needing easy tear or reseal options, 3-side seal might fit better.
- Budget-conscious buyers ordering high volumes benefit most from the 2-side seal cost savings.
- Check your filling line compatibility first—top-fill lines align better with 2-side seal pouches.
In the end, your choice boils down to product size, branding needs, cost, and how you fill the pouch. Match these with your goals for best results.
Latest Trends in 2026
In 2026, flexible packaging is evolving fast, and both 2-side seal pouches and 3-side seal pouches are keeping up with some key trends:
Recyclable Mono-Material Pouches
More brands are switching to recyclable, single-material films instead of multi-layer laminates. This shift helps reduce plastic waste and meets global sustainability goals, making pouches easier for recycling facilities to process.
Matte vs. Glossy Finishes
Flat pouches now come in both matte and glossy finishes, offering brands fresh ways to stand out on shelves. Matte gives a premium, natural feel, while glossy boosts vibrancy and shelf appeal. Both can work for side seal pouch styles depending on your brand look.
Hang-Hole and Euro-Slot Designs
To increase display options, manufacturers are adding hang-holes or euro-slots to side seal pouches. This move helps products fit modern retail shelving and grab attention, especially in convenience and specialty stores.
These trends reflect global market needs for eco-friendly, eye-catching, and retailer-friendly packaging solutions. Keeping an eye on these will help you pick the best pouch type for your product and brand in 2026 and beyond.