Custom flexible packaging rarely moves directly from artwork approval to finished pouches. The order passes through specification review, material planning, prepress, proofing, tooling, printing, lamination, curing, slitting, pouch making, quality control, packing, and transport. Each stage has its own inputs and dependencies, so a delay early in the project can shift the entire delivery date.
A useful timeline is built backward from the date packaging must be available for filling—not from the public product launch. It includes receiving inspection, line trials, contingency, and the time required to fill and distribute finished goods. The stages below are typical planning blocks rather than guaranteed durations; actual timing depends on material, print method, order volume, factory capacity, approvals, holidays, transport route, and product requirements.
Stage 1: Requirements and Quotation
The project begins with a complete use profile. Define product type, fill weight or volume, water activity or barrier needs, fill temperature, processing, shelf life, storage, distribution, opening and reclosure, sales markets, printing, and target pouch format. Include the filling method and equipment limits.
Share finished dimensions or product volume, structure preferences, thickness, zipper, valve, spout, tear notch, hang hole, window, surface finish, and annual forecast. The article on information for a packaging supplier shows how a complete brief reduces clarification cycles even beyond coffee applications.
The supplier then reviews feasibility and prepares a quotation. Time can be lost when different bidders interpret the request differently, so compare offers against one written specification. Clarify MOQ, tooling, samples, test documents, overrun tolerance, Incoterm, payment, expected production time, and exclusions. Use the supplier’s how to customize packaging process to resolve structural questions before final artwork is created.
Stage 2: Structure, Size, and Commercial Approval
Choose the material structure based on product compatibility, barrier, sealing, puncture resistance, stiffness, appearance, regulatory status, and filling conditions. Obtain technical data and compliance documentation. New structures may require compatibility, migration, seal, barrier, or shelf-life testing before commercial release.
Confirm size with a blank prototype. Fill it with the actual product, test headspace and closure access, and verify cartons, shelves, filling equipment, and consumer handling. A size change after artwork approval can invalidate the dieline, printing tooling, and converting setup.
Issue a purchase order only when the specification and commercial assumptions are aligned. The order should identify material, size, print, features, quantity, tolerance, quality criteria, delivery term, and approved evidence. If critical points remain open, list them as formal hold points rather than informal expectations.
Stage 3: Dieline and Artwork Development
The converter supplies a production dieline for the exact pouch and equipment. Designers place artwork within bleed, safe zones, seals, folds, gussets, zipper, valve, spout, notch, and coding clearances. Rollstock also requires web width, repeat, lane arrangement, eye mark, and unwind direction.
Artwork development often takes longer than anticipated because copy must pass marketing, regulatory, legal, barcode, retailer, and localization review. Build these internal approvals into the plan. Freeze SKU names, ingredients, claims, nutrition, net contents, addresses, symbols, and barcodes before the print-ready file is released.
The converter’s prepress team checks dimensions, fonts, linked images, resolution, colors, white ink, varnish, overprints, trapping, and separations. Corrections return to the designer for another round. Assign one person to consolidate comments and control file versions; fragmented feedback is a common source of lost days.
Stage 4: Proofs and Samples
A PDF proof is normally the fastest approval and should confirm copy, layout, orientation, dieline fit, and separations. It does not prove physical color or material appearance. Printed prototypes can show scale, pouch formation, window placement, and general appearance, but they may use digital printing or substitute material.
If color, finish, or construction risk is high, request a production-representative proof or trial. This adds time and cost because tooling, ink preparation, material, and press capacity are involved. Define what the sample must prove and whether production is allowed to proceed before approval.
Stage 5: Tooling and Material Procurement
After artwork approval, the supplier prepares digital data, flexographic plates, gravure cylinders, cutting dies, or other required tooling. Digital printing may avoid conventional color tooling, but finishing dies and pouch-making setup can still apply. Artwork should be frozen before this investment because even a small design or size change may require replacement.
At the same time, the converter reserves or orders film, paper, foil, adhesive, ink, zipper, valves, and spouts. Stock materials can shorten the schedule. Custom structures, specialty components, certified content, uncommon thicknesses, or mill-made film can become the longest lead-time item.
Ask whether material procurement begins before the deposit, after technical approval, or only after artwork approval. Starting early can save time but creates liability if the specification changes. Record who owns material ordered before final release.
Stage 6: Printing
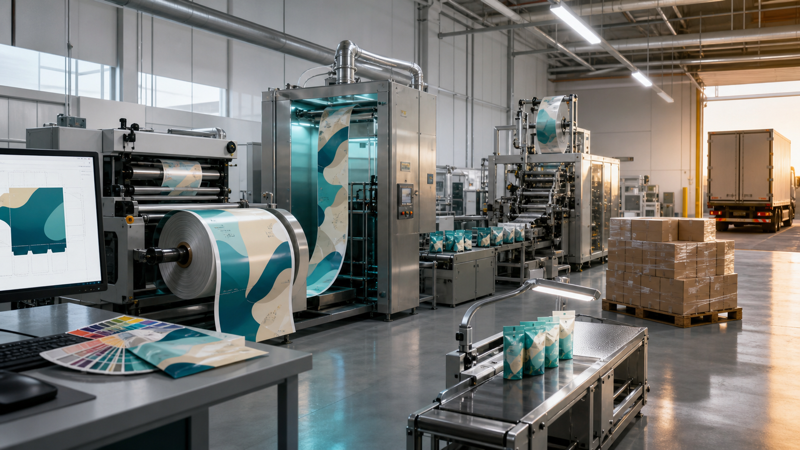
Printing is scheduled after tooling, material, ink, and artwork are ready. The actual press run may be fast compared with the queue before it. Capacity constraints, color sequence, grouping of similar jobs, maintenance, and peak-season demand affect the start date.
During setup, operators adjust registration, ink, viscosity, drying, white opacity, and color. Approved standards guide the run. Quality checks may include color measurement, visual defects, registration, repeat length, barcode quality, and retained samples. If the brand requires first-off approval, define how quickly that decision will be made and whether the press can wait.
The packaging products selected may use different print and converting routes. A premade stand-up pouch, rollstock, flat-bottom bag, and spouted pouch should not be assigned the same default timeline.
Stage 7: Lamination and Curing
Many high-performance packages combine printed film with barrier and sealant layers through adhesive lamination. After lamination, the adhesive needs time and suitable temperature to cure. The web may look finished, but converting or filling too early can cause odor, poor bond strength, tunneling, delamination, or chemical-resistance problems.
Cure time depends on adhesive chemistry, structure, product use, and process conditions. Retort, aggressive products, or demanding regulations may require special systems and validation. Treat curing as a real production stage, not empty schedule that can automatically be removed when a project is late.
Quality checks after cure can include bond strength, residual solvent, appearance, and structure verification. A failed result may require investigation or additional conditioning before slitting and pouch making.
Stage 8: Slitting, Pouch Making, and Accessories
Laminated master rolls are slit to the required widths. Rollstock may then be inspected, spliced, and packed for filling. Premade pouches continue through folding, gusset formation, zipper or valve application, sealing, cutting, corner rounding, and counting.
This stage translates small setup issues into finished-package defects, so converters check dimensions, seal width, zipper position, notch, valve, appearance, counts, and functional performance. Spouted or shaped pouches may need additional insertion, sealing, leak testing, and fixtures.
Production sequencing matters. A printed web can wait for an available pouch-making machine, and several SKUs may require separate setups and packing. Ask whether the quoted lead time covers the complete converted package or only printing.
Stage 9: Final Quality Control and Release
Final inspection should follow the agreed sampling plan and specification. Typical checks include identification, quantity, dimensions, film construction, print, color, odor, seals, zipper or accessory function, leakage, drop testing, roll winding, splice count, and packing condition. Required certificates and reports should be assembled before shipment.
Allow time for corrective action. If inspection occurs on the planned ship date, any nonconformance automatically becomes a logistics delay. Build a release buffer between final production and booked transport.
The brand may also conduct incoming inspection and a filling trial after receipt. Do not schedule the full product run for the moment the truck arrives. Quarantine, sample, approve, and stage the packaging first.
Stage 10: Freight and Delivery
Transport time depends on origin, Incoterm, air or ocean mode, consolidation, customs, port conditions, and final-mile delivery. Ocean freight includes booking, export clearance, sailing schedules, transshipment, import clearance, and destination movement—not only days on the water.
Account for national holidays and seasonal congestion in both origin and destination markets. Track the shipment against a required-on-site date and maintain enough packaging safety stock to absorb ordinary variation. Contact BN PACK or the selected supplier early when a deadline changes; expediting options narrow after production and vessel booking.
Build the Timeline Backward
- Required packaging at filling site, including incoming inspection buffer.
- Freight, customs, final delivery, and contingency.
- Final quality release and document preparation.
- Pouch making or roll finishing, slitting, and accessory application.
- Lamination curing and post-cure tests.
- Printing queue, setup, production, and first-off decision.
- Tooling manufacture and material procurement.
- Physical sample delivery and approval, if required.
- Prepress corrections and digital proof approval.
- Artwork, regulatory copy, barcode, and internal review.
- Structure selection, trials, quotation, and commercial approval.
Assign an owner, planned finish date, dependency, and approval limit to every stage. Review the critical path weekly and record changes. The fastest packaging project is not the one with the most optimistic factory estimate; it is the one that supplies complete information, freezes decisions in the right order, and leaves deliberate time for validation and logistics.