
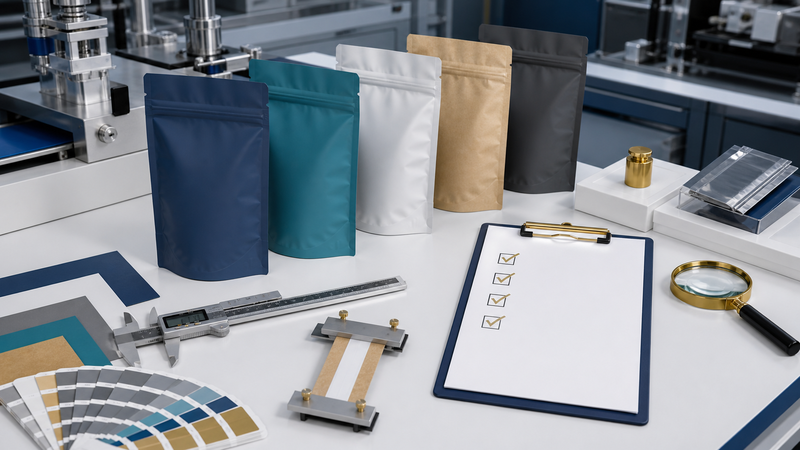
Incoming quality control is the last opportunity to detect a packaging problem before it reaches the filling line. A disciplined inspection protects product, production time, brand color, shelf appearance, and launch schedules. It also creates objective evidence for conversations with a supplier. Without a written plan, teams tend to inspect what is easy to see while missing sealability, odor, dimensions, roll orientation, or other factors that cause expensive line failures.
The checklist below is designed for brand owners receiving premade pouches or flexible film. It should be adapted to product risk, order size, supplier performance, and the agreed specification. It does not replace food-safety controls, laboratory testing, or a statistically justified sampling program.
1. Build the Standard Before the Shipment Arrives
Incoming inspection cannot work without an approved reference. Freeze a purchase specification that includes material structure and thickness, dimensions and tolerances, pouch or roll format, sealant, zipper or spout, printing method, artwork revision, color targets, surface finish, roll direction, core size, splice rules, packing method, regulatory documents, and functional requirements. The specification should also define how critical, major, and minor defects are classified.
Keep an approved physical sample when practical. Digital artwork is useful for content, but it cannot fully represent gloss, matte feel, opacity, stiffness, odor, seal behavior, or color on the chosen substrate. A clear workflow for how to customize packaging should end with clearly identified approval samples and signed tolerances. A sample without a date, revision, and material specification can become a source of disagreement rather than a control.
2. Verify Shipment Identity and Documents
Before opening every carton, compare the purchase order, packing list, carton labels, and certificates. Confirm supplier, SKU, artwork revision, quantity, lot or roll numbers, production date, and carton count. For food-contact packaging, verify that required compliance documents match the exact material and intended use. Record damaged, wet, crushed, or re-taped cartons before moving them.
Check traceability. Every accepted unit or roll should be traceable to a supplier lot. If several lots are mixed in one shipment, preserve that distinction during sampling and release. Review change notifications: a substitute film, adhesive, ink, zipper, or production site can affect performance even when the printed pouch looks similar.
3. Select Samples Deliberately
Do not take every sample from the top of the first carton. Spread selection across pallets, cartons, lots, rolls, lanes, and the beginning, middle, and end where possible. The sampling level should reflect defect severity, supplier history, process capability, and order size. Critical safety or functional features may require different controls from cosmetic attributes.
Define the decision rule before inspection: how many units are checked, what constitutes a defect, and when the lot is accepted, held, resampled, sorted, or rejected. For high-risk packaging, consult a quality professional about a recognized acceptance-sampling approach. Sampling does not guarantee a defect-free lot; it manages decision risk.
4. Inspect Appearance and Print
Examine pouches under consistent, neutral lighting. Compare artwork, text, barcode position, registration, color, opacity, finish, and varnish with the approved reference. Look for scratches, scuffs, blocking, ink pick-off, streaks, haze, wrinkles, gels, fish-eyes, contamination, and foreign matter. Inspect heavily printed and unprinted zones because defects can behave differently.
Color should be assessed using an agreed target and method, not memory or a phone screen. Consider instrumental color measurement for important brand colors and define an acceptance tolerance appropriate to the substrate and printing method. Brown kraft, metallic film, clear windows, and matte finishes influence appearance. Check variable information, batch-code areas, QR codes, and barcodes with the device and lighting conditions expected in the market.
5. Measure Dimensions and Construction
Measure pouch width, height, bottom or side gusset, seal widths, zipper position, tear-notch position, hang hole, spout location, and any rounded corners. Use the measurement convention in the drawing so folded and unfolded dimensions are not confused. Inspect squareness and symmetry, particularly where an uneven gusset can affect standing or filling.
For rollstock, verify web width, repeat length, print pitch, core inside diameter, roll outside diameter, winding direction, splice count and marking, and roll edge condition. Confirm whether the artwork is inside or outside wound and which edge leads into the machine. A dimension can be within tolerance individually yet create cumulative registration or cut-off problems on a high-speed line, so run a representative trial when fit is critical.
6. Check Material, Odor, and Surface
Compare thickness or basis weight using the agreed method and locations. A handheld gauge measures total thickness but does not confirm the identity or thickness of every layer. Supplier certificates and periodic laboratory analysis may be needed to verify flexible packaging materials. Observe stiffness, clarity, coefficient-of-friction behavior, static, and surface slip if these affect filling or handling.
Open a sealed bag of samples and assess odor in a controlled way. Strong solvent, adhesive, burnt-plastic, or unexpected fragrance can signal incomplete curing, contamination, or storage issues. Do not rely only on subjective smell for a serious concern; quarantine the lot and use appropriate residual-solvent, migration, or sensory testing. Keep reference and suspect samples sealed separately.
7. Evaluate Seals and Package Function
Inspect top, side, and bottom seals for continuity, width, wrinkles, channels, contamination, burn-through, and edge lifting. Perform an agreed seal-strength or peel test with documented specimen width, speed, and conditioning. Leak methods may include vacuum bubble, dye, pressure, burst, or other validated approaches depending on product and package. A seal can look good but open too easily, or look slightly imperfect while remaining functionally strong; use both visual and measured criteria.
Operate every feature. Open and reclose zippers repeatedly, verify tear initiation, check spout fit and cap torque, confirm valve placement, test child-resistant mechanisms according to applicable protocols, and make sure hang holes do not tear under expected load. Fill representative packaging products with the real or approved surrogate product, seal them on production equipment, and check standing, handling, dispensing, and consumer opening.
8. Run a Line Trial When Risk Justifies It
Incoming inspection should connect to manufacturing reality. For a new supplier, new structure, new size, major artwork change, or high-speed rollstock, release may depend on a controlled line trial. Record machine settings, speed, seal-jaw temperature, pressure, dwell, tracking, static, cut accuracy, scrap, and stoppages. Compare performance with the approved material.
A short trial can reveal coefficient-of-friction issues, curl, zipper misalignment, seal contamination, print-eye problems, roll telescoping, or pouch-opening failures that bench inspection misses. Do not optimize the machine so aggressively that it masks a material outside the agreed process window. The objective is a stable combination of material and equipment, not a one-time successful run.
9. Record, Quarantine, and Decide
Use an inspection record with shipment identity, sample locations, methods, equipment, results, photographs, defect classification, inspector, and date. Calibrated instruments and controlled methods make the record credible. Label nonconforming material physically and in inventory systems so it cannot be issued accidentally.
When a defect is found, define the scope before negotiating disposition. Is it one carton, one roll, one lane, one lot, or the entire shipment? Preserve samples and packaging. Possible decisions include acceptance, conditional use, sorting, rework, return, or destruction, but any concession should document the product and process risk. Feed the result into supplier corrective action and future sampling.
Quick Receiving Checklist
- Purchase order, SKU, revision, quantities, lots, and documents match.
- Cartons and rolls show no water, crush, contamination, or edge damage.
- Sampling covers the shipment rather than one convenient location.
- Artwork, color, registration, finish, barcode, and variable-data areas pass.
- Pouch dimensions, seals, gussets, features, roll direction, and core meet specification.
- Material feel, thickness, odor, slip, and static show no unexpected change.
- Seal strength, leak resistance, zipper, notch, spout, valve, and other functions pass.
- Representative filling and line trials are completed where required.
- Results are documented, nonconforming material is controlled, and release is authorized.
Conclusion
Incoming QC turns packaging approval into a repeatable release decision. The most effective program begins with a precise specification, selects representative samples, checks both appearance and function, and records the evidence. For teams still defining what flexible packaging is and which attributes matter, start with the product’s protection, filling, distribution, and consumer-use needs. Then make every inspection item traceable to one of those needs. That keeps quality control focused, fair, and commercially useful.